Confluent Cloud connector
Confluent Cloud is a fully-managed, cloud-native data streaming platform built on Apache Kafka. Confluent Cloud lets you build real-time data pipelines and stream data between different applications. It offers a scalable and reliable infrastructure that can handle massive amounts of data streams and process them in real-time.
Use the Confluent Cloud connector to create a table in Apache Pinot by mapping it to a particular topic. As soon as the integration is set up, StarTree automatically begins to consume data from the connected topic in Confluent Cloud.
Connect StarTree to Confluent Cloud
Create a dataset
Let's go through the steps to create a dataset with Confluent Cloud as a Source.
- In StarTree Cloud, on the Data Manager overview page, click Create a dataset. Then, on the Select Connection Type page, click Confluent Cloud.
- Enter the following information to create a connection with Confluent Cloud:
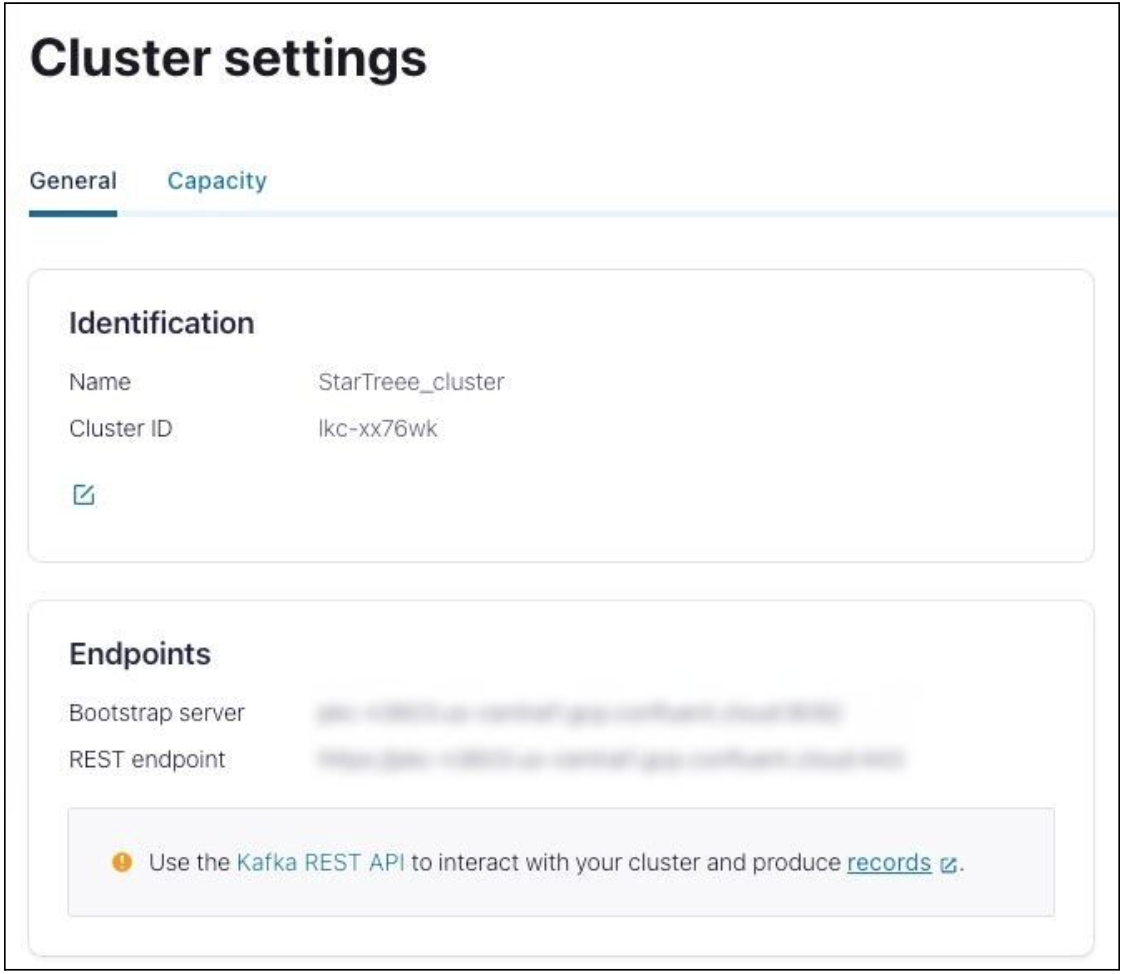
- Broker URL: Obtain the Bootstrap Server endpoint in Cluster Settings of your Confluent Cloud environment. For more information, see how to obtain the Bootstrap server endpoint.
- API Key: The API key extracted in the above steps from your Confluent Cloud account. For more information, see how to [create the API key and secret](#Create the API key and secret).
- API Secret: The API secret extracted in the above steps from your Confluent Cloud account.
- Authentication Type: SASL
- (Optional) To use Confluent Cloud Schema Registry (opens in a new tab), choose Advanced Options when creating a connection and provide the following information:
- Schema Registry URL
- Schema Registry API Key
- Schema Registry API Secret
- Click Test Connection to verify the connection, and then click Create Connection. When you provide schema registry information, only topics associated with that schema are displayed in the topic selection screen.
- In the Topic Name drop-down list, select the topic name that exists in Confluent Cloud. Note: When you provide schema registry information, only topics associated with that schema are displayed in the Topic Selection page.
- In the Data Format drop-down list, select the appropriate format. This maps the content from Confluent Cloud to the new table in Apache Pinot.
If schema registry information isn't provided, and you select AVRO as the data format, this results in an error. If this happens, go back to the previous screen to provide schema registry information.
- (Optional) In Record reader config, provide additional details about the source schema.
- (Optional) Improve query performance by adding indexes to the appropriate columns and choose encoding types for each column.
- (Optional) Configure unique details such as tenants, scheduling, data retention, and a primary key for upsert.
- Click Next.
- Check the details and preview data. When ready, click Create Dataset.
Obtain bootstrap server endpoint
- Log in to your Confluent Cloud account (opens in a new tab).
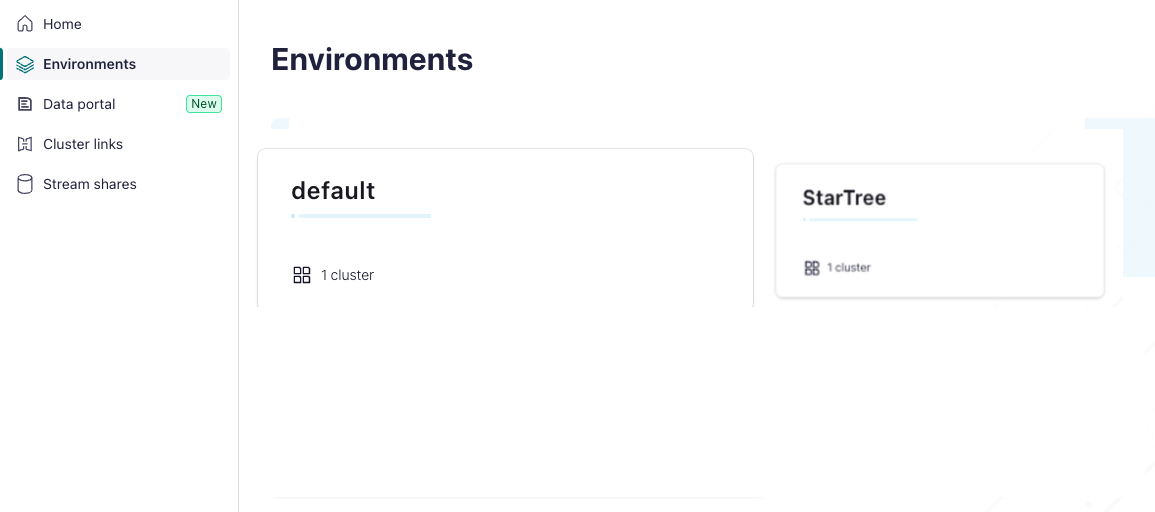
- In the left navigation pane, click click Environments, and then click the name of your Environment.

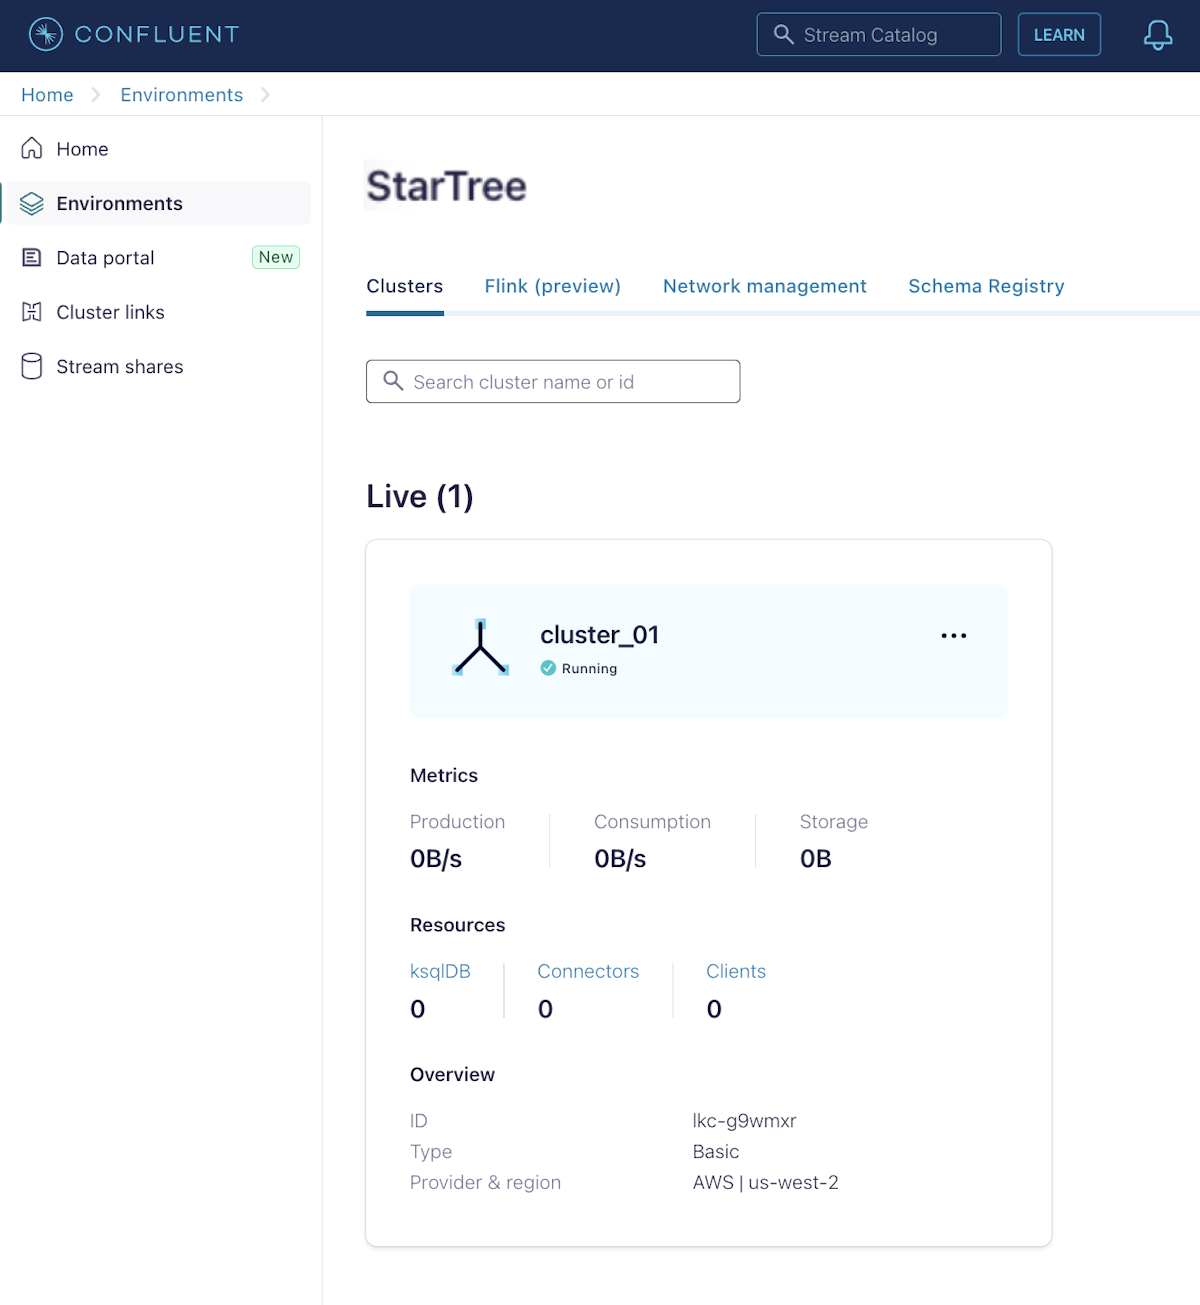
- In the Environment page, select the Clusters tab, and then click the name of your Cluster.

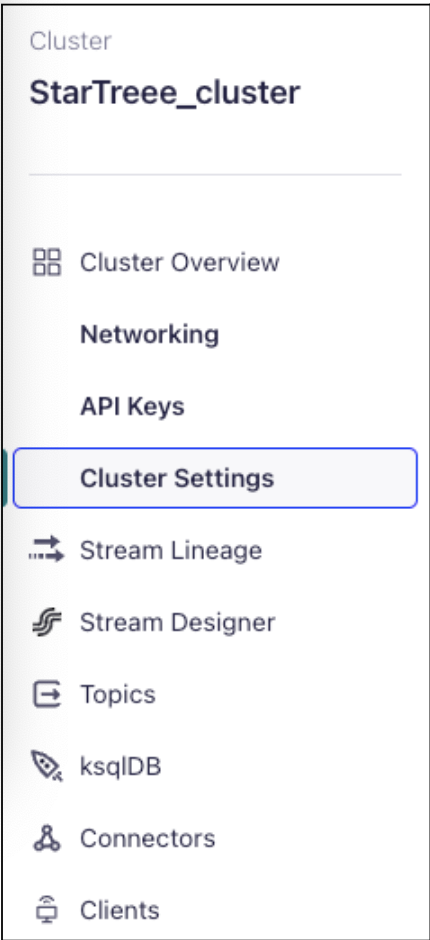
- In the left navigation pane, under Cluster Overview, click Cluster Settings.

- On the Cluster settings page, copy the Bootstrap server endpoint and save it securely like any other password.
You'll need this endpoint to configure your Broker URL connection (Step 2 in creating a dataset).
